When you first start jFinder, you don't have any indexation set. Then, let's see how to set it up.
First, go to the "Index control" menu.
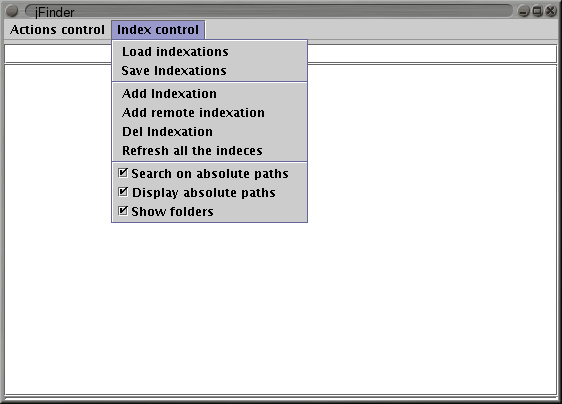
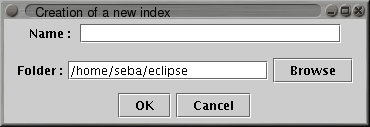
Then select the "Add Indexation" item. This dialog box should appear.
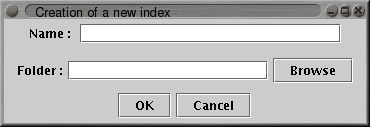
For the example, I will select the eclipse folder in my home directory. But you can select just any folder (as long as you have the rights to read it).
Click the "Browse" button and the folder selection dialog box should appear.
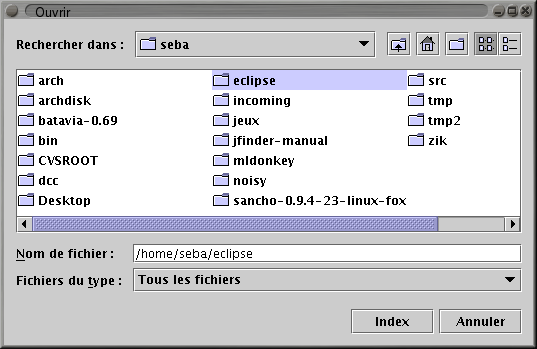
At this point select the folder you want to indexate and click the "Index" button.
The selected folder appears in the "Folder:" text field.
Fill the "Name :" text field with the name you would like to appear in the checkbox button. In my case, I've just entered "eclipse".
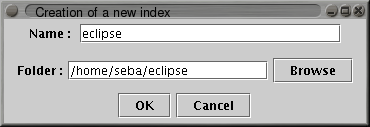
Press the "Ok" button, and the indexation check box will appear.
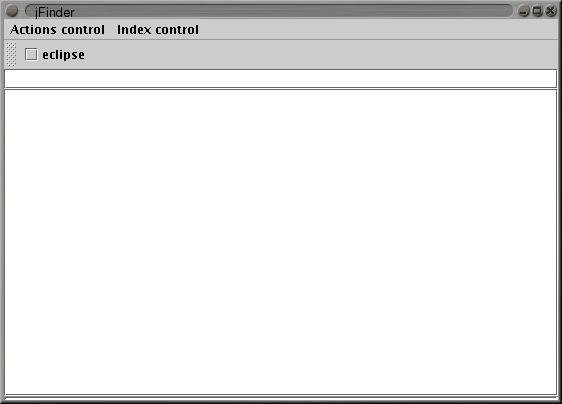
Wait a moment for the indexation to complete, then click the created checkbox, and you'll see the content of that indexation.

Good, you're now ready to make a search on this indexation.
Generously hosted by